
Start a UGC voiceover with a short test in the room and recording app you will actually use. Play it back without music, fix the audible problem, and test again before recording the full script. Keep your position consistent and check replacement lines inside the edit: a take that sounds clear on its own may still sound different beside the original.
Prepare lines you can say naturally
Keep the agreed message and the intended pictures beside your script. Read the words aloud before recording. If a sentence forces you to rush, simplify it with the brand’s agreement when approval is required. Confirm unfamiliar names and pronunciations rather than guessing. Do not add a product benefit or personal experience that the assignment does not support.
The example here is a fictional Arabic notebook demonstration with three lines: “أفتح الدفتر على صفحة جديدة.” (“I open the notebook to a new page.”), “أكتب العنوان في الأعلى.” (“I write the title at the top.”), and “وهذه مساحة الملاحظات.” (“And this is the notes area.”). The English text explains the sample; the recorded script in this example is Arabic. These lines describe visible actions, not a real client campaign or product-performance claim.
Give each line an identifier, such as A, B and C. Read through with the picture or planned sequence so you can hear where a pause belongs. You do not need to flatten every breath or force a fixed speaking speed; the message should remain understandable and fit the agreed edit.
Test the room and input you will use
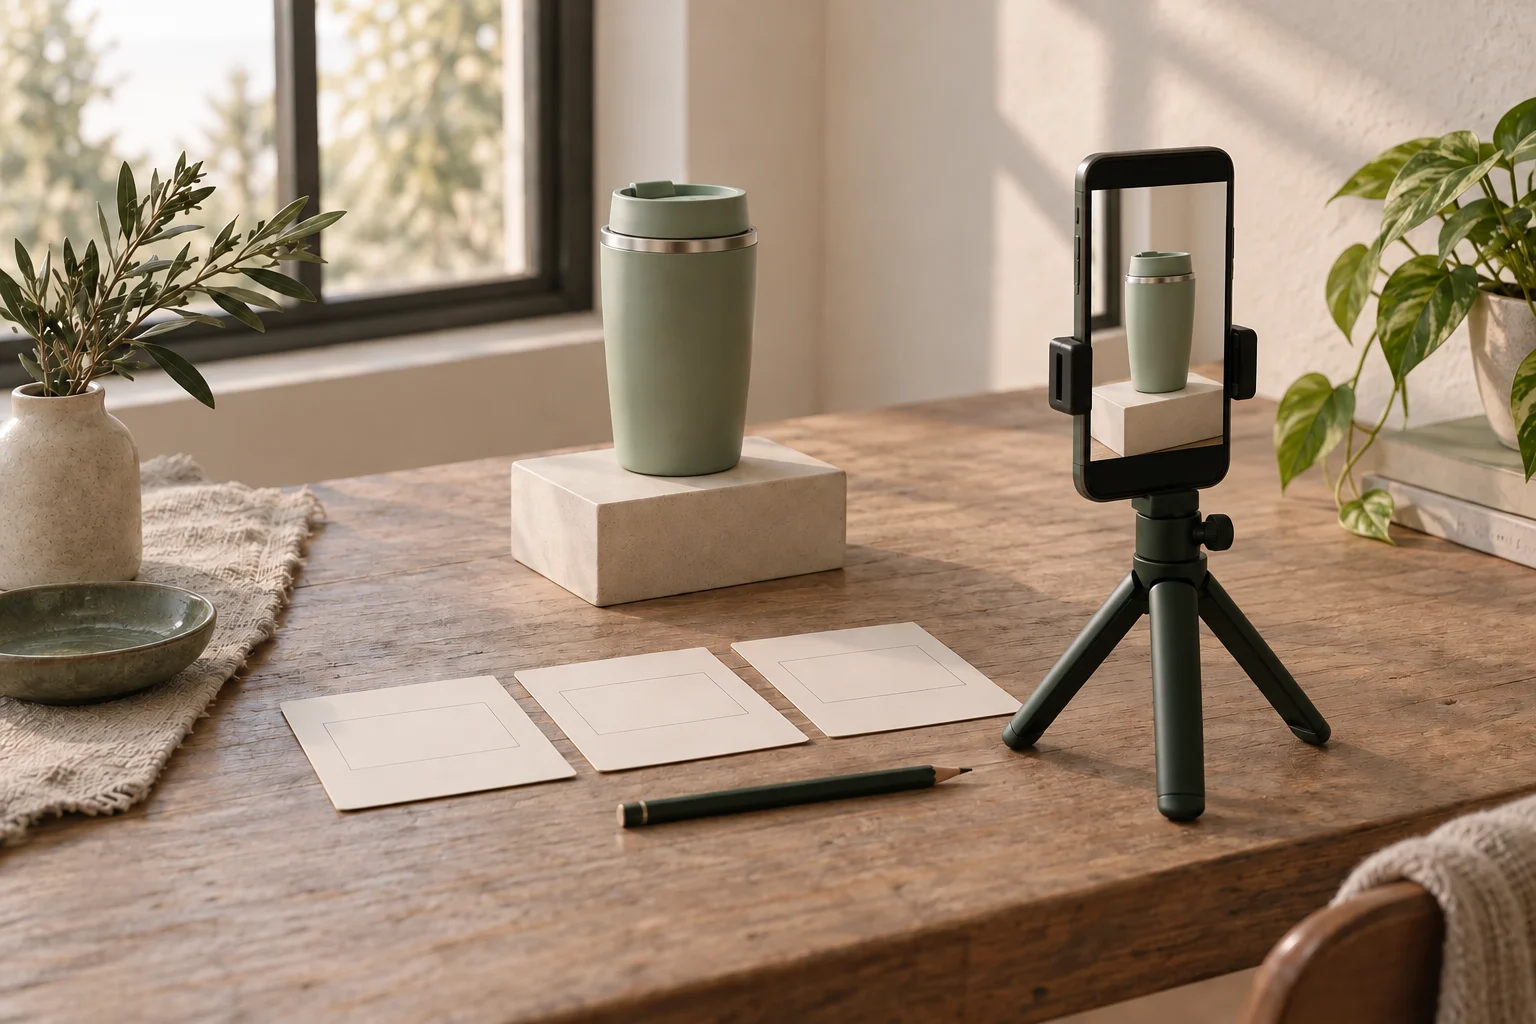
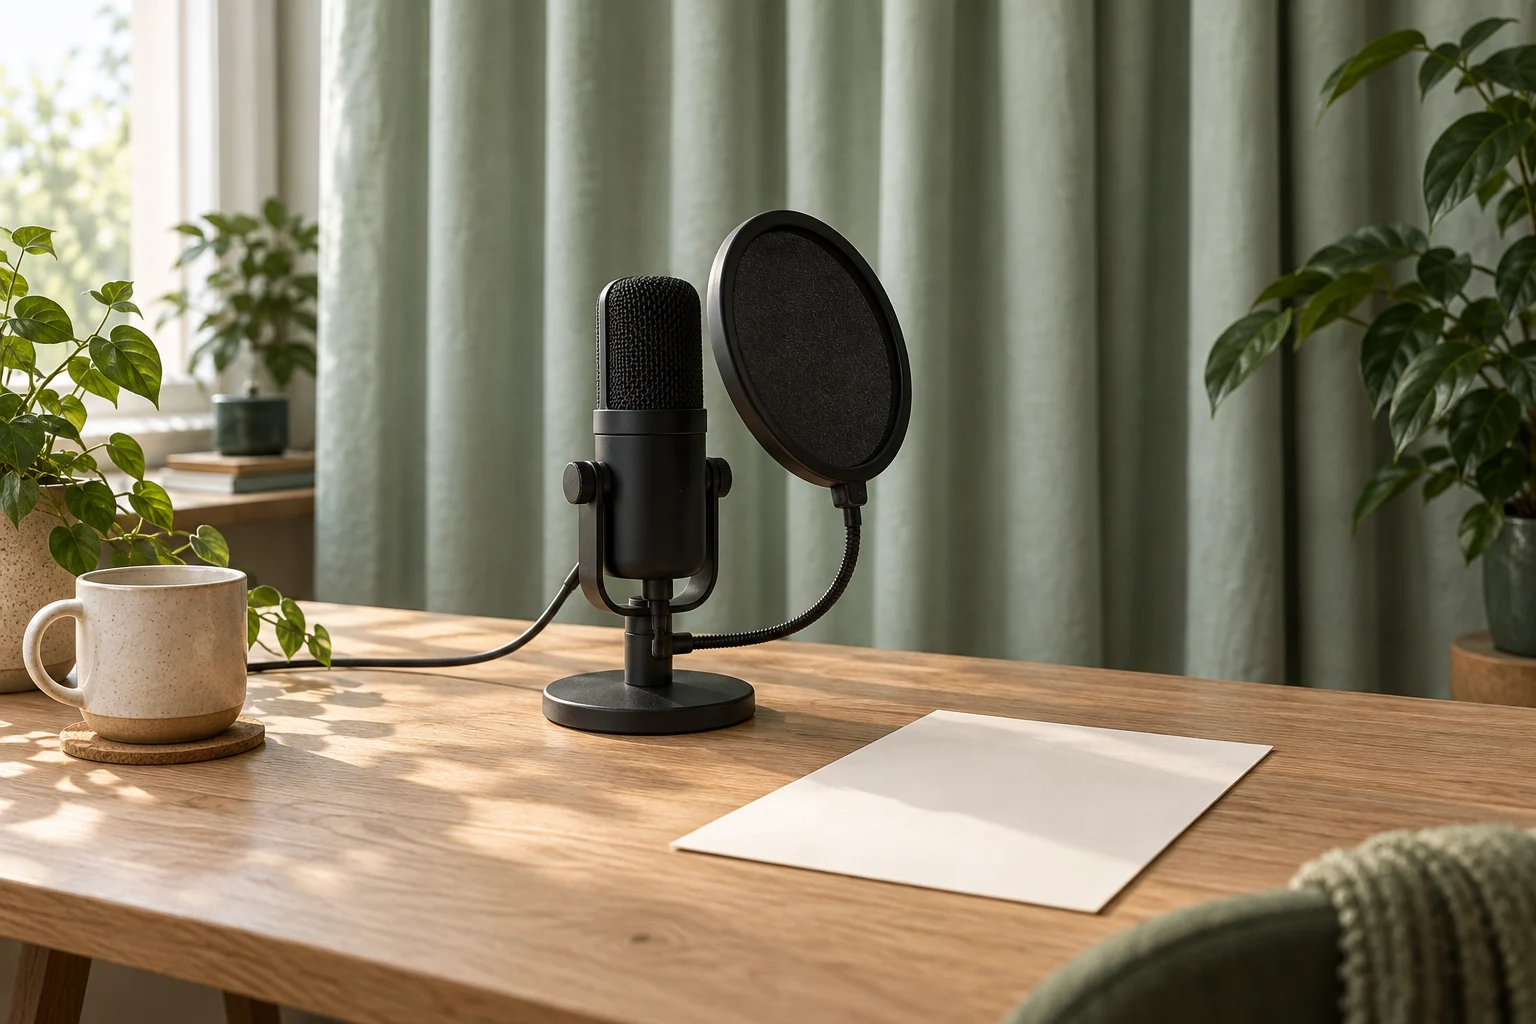
Begin with the device you have. YouTube’s mobile-filming guidance recommends keeping the microphone unobstructed, reducing avoidable background sound and using softer surroundings to reduce reflections. Audacity’s recording guide also notes that a built-in microphone may be sufficient for voice. The cover shows one possible setup; a desktop microphone, pop filter or paid app is not a requirement for this exercise.
Listen to the space before pressing Record. Move away from a noisy appliance when practical, reduce interruptions, and choose a position with less obvious echo. Soft furnishings may help, but they do not guarantee sound isolation. Place the device securely and avoid handling it or rustling a paper script while speaking.
- Select or confirm the intended microphone in the recording app when that control is available. Connecting another microphone does not by itself verify the input being recorded.
- Record a short part of the actual script at your intended speaking level, including a pause. For this exercise, ten to fifteen seconds is a convenient example, not a required test duration.
- Play back the raw test at a comfortable listening level, preferably with headphones that let you hear the detail. Check the words, the pauses and any louder syllables.
- Listen for room noise, echo, breath blasts, distortion or level changes when you move. If the app offers a recording meter or clipping indicator, check that too.
- Change one identifiable setup issue and repeat the same passage. Keep the better setup only after listening to the new recording.
Audacity’s guide recommends a test recording and playback, and addressing clipping before the full take. If the input is overloading, reduce recording gain where your app allows it or adjust your position, then retest. Lowering playback volume only makes the damaged recording quieter. Controls and microphones differ; there is no single distance or gain setting in this worksheet that fits them all.
Record complete phrases and mark usable takes
Once the test is suitable, keep the same device, input and position while recording. Use the microphone’s intended speaking side according to its instructions. Leave a little space around a phrase for editing. If you stumble, pause and repeat the complete phrase instead of trying to attach an isolated syllable later.
Write a short observation beside each take after listening. A filename shows which recording you mean; it does not prove the recording is usable. The table below contains invented observations to explain the method. No audio test or customer result is being reported.
Fictional notebook-session log
Scroll sideways to see all columns.
| Line | Observation after playback | Action and selected take |
|---|---|---|
| A — opening the notebook | A-01: background noise distracts during the pause. | Move to the quieter position and repeat the test; select A-02 only after listening. |
| B — writing the title | B-01: “العنوان” is stumbled over; other words are clear. | Record the whole sentence again in the same setup; B-02 is the candidate replacement. |
| C — showing the notes area | C-01: speech is understandable and the ending is complete. | Keep C-01 for the edit, subject to checking it with the surrounding lines. |
If moving to a new position changes the sound, record the adjoining lines there too when needed. The purpose of the log is to retain a usable sequence, not to preserve the largest possible number of old takes. Keep the original recordings so you can compare and revise your choices.
Match a replacement to its neighbours
A replacement line, often called a pickup, can sound noticeably different if you return with another microphone, room, position or delivery. As a practical starting point, note the original setup and restore it where possible. Listen to the surrounding lines before speaking, then record a little of that surrounding passage along with the replacement to help match the pace and tone.
For line B in the example, read A, B and C together again if necessary, then choose the replacement that joins naturally. You may use only B in the final edit, but listening to A → B → C reveals a sudden change in loudness, room sound or rhythm. If the mismatch remains distracting, rerecord a longer passage in one consistent setup.
Voiceover session note
Script version and working language:
Device, selected input and app:
Room, position and useful setup notes:
Test passage and what playback revealed:
One setup change and retest result:
Line ID and intended words:
Chosen take and audible issue, if any:
Replacement take and surrounding lines recorded:
Checked in context: words / level / room sound / pace:
Remaining recording or approval question:
Listen before cleanup and after the final export
Check the speech without music first, then inside the intended mix. Music should not hide a recording problem or make the words hard to understand. If you use noise reduction, work on a copy and compare before and after. Audacity’s manual explains that removal has limits and excessive reduction can damage wanted audio. Rerecording an unclear line may be more useful than stronger processing.
Play the exported result from beginning to end. Check that it contains the chosen takes, complete words and endings, smooth joins and the agreed balance with other sound. Deliver the agreed file type and whether the voice is separate or part of the video. A good playback check helps you catch mistakes; it does not guarantee identical sound on every listener’s device.
Keep your session note with the source recordings. It makes a later correction easier to reproduce and helps you explain exactly what remains to record, without claiming that a clean voiceover alone guarantees a successful campaign.
How this fits UGC Stage
UGC Stage is an application in development connecting creators and brands. Its planned creator portfolios let you showcase selected work; the current creator page includes audio among the supported types of planned portfolio material. A short, clearly labelled practice narration can help you prepare a voice sample that represents what you can record. Describe your contribution honestly and call self-initiated work a practice sample. Use your own recording tools for this workflow, and join the creator launch list to hear when the application becomes available.
Explore the applicationSources and notes
Practical guidance from the UGC Stage team. Examples are educational, not customer results or income guarantees.