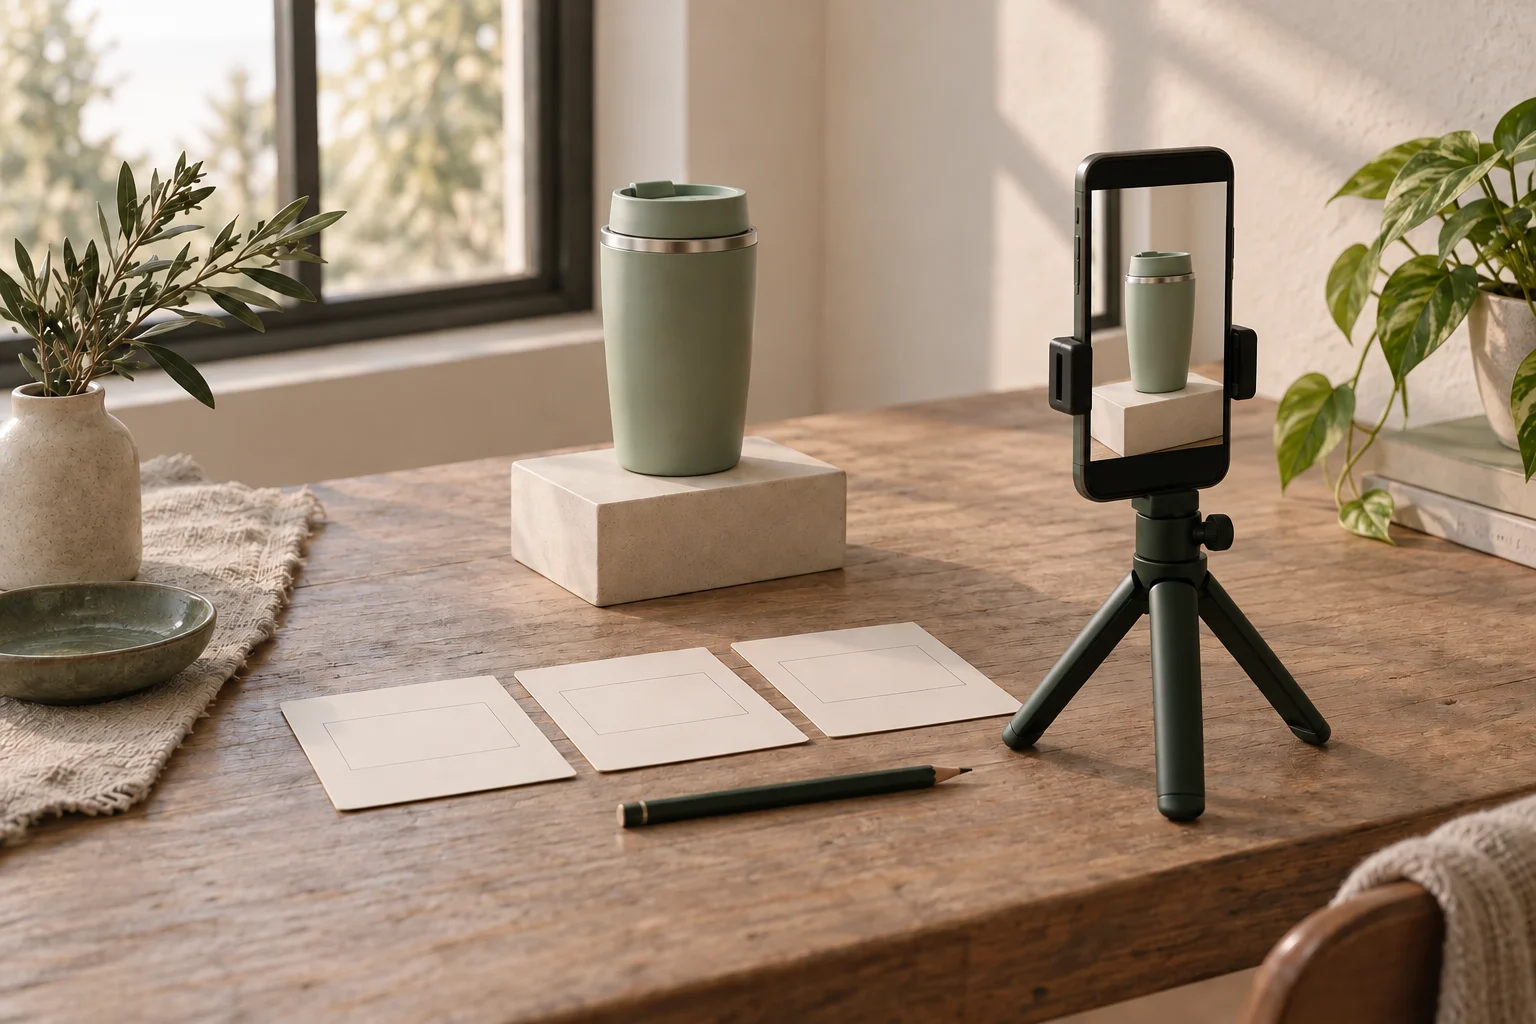

For a tabletop product demonstration, first decide what should move: the product, the camera or both. Record a short test, then watch the saved clip for unwanted camera movement and missing product information. A steadier picture is useful only if the viewer can still see the action the shot needs to explain.
Separate camera movement from product movement
Write one sentence describing the shot. Keep the agreed recording orientation throughout. For this exercise: ‘Keep the camera in one position while the stapler is pressed and released on the intended paper; show its rear hinge and front contact area.’ This is a fictional production requirement, not a test of capacity, durability or fastening quality.
Begin with the product at rest, record the complete action and finish after it settles. Watch a stationary background edge as well as the product. If the whole picture shifts unexpectedly, camera stability is worth testing. That observation alone does not identify every cause of blur or distortion. Product movement, focus and light still need their own checks.
A deliberate handheld move may suit a different brief. Do not remove it simply because a fixed view looks calmer. Here, the requirement is a fixed view, so moving the phone adds a variable that does not help explain the pressing action.
Test support before changing several settings
Try a compatible phone holder on a stable surface, following its mounting instructions. Check that the phone is secure and the lens is clear. Keep the camera mode, light, distance and framing comparable to the earlier take where possible; record any unavoidable change. Avoid touching the support during the action, and allow movement from starting the recording to settle.
Then consider an available stabilization setting as a separate comparison. Apple's iPhone guide says Enhanced Stabilization zooms in slightly on supported models while recording in Video or Cinematic mode. This is a specific camera behavior, not a promise about every phone, Android app or recording mode. Read the guidance for your own device before changing it.
Record the same action with one relevant change at a time. Compare the saved clips, not just the live preview. If the setting changes the visible area, check both required product parts throughout the movement. Do not assume a stronger setting is the best choice or that it can restore an out-of-focus detail.
Example: choose the next stapler take
These are three invented alternatives, not observations from an actual shoot or a sequence of successful fixes. Each starts from the same required action. Use only the row that resembles what your own saved clip shows, then inspect the next result rather than assuming the suggested change worked.
Fictional observations and targeted next steps
Scroll sideways to see all columns.
| Saved clip observation | One change to try | What the next clip must show |
|---|---|---|
| During a handheld take, the background and stapler drift together before pressing begins. | Repeat with a securely supported camera, keeping the intended view comparable. | A settled starting view, the complete press and release, and both required product parts. |
| A supported take moves when recording starts, then stays settled during the action. | Leave a settled moment before beginning the action. | A usable lead-in without cutting away the beginning of the press. |
| A supported stabilization setting makes the picture steadier but the tighter view excludes the front contact area. | Allow more framing space and repeat with that same setting. | Both hinge and contact area remain understandable; if detail becomes too small, the tradeoff remains unresolved. |
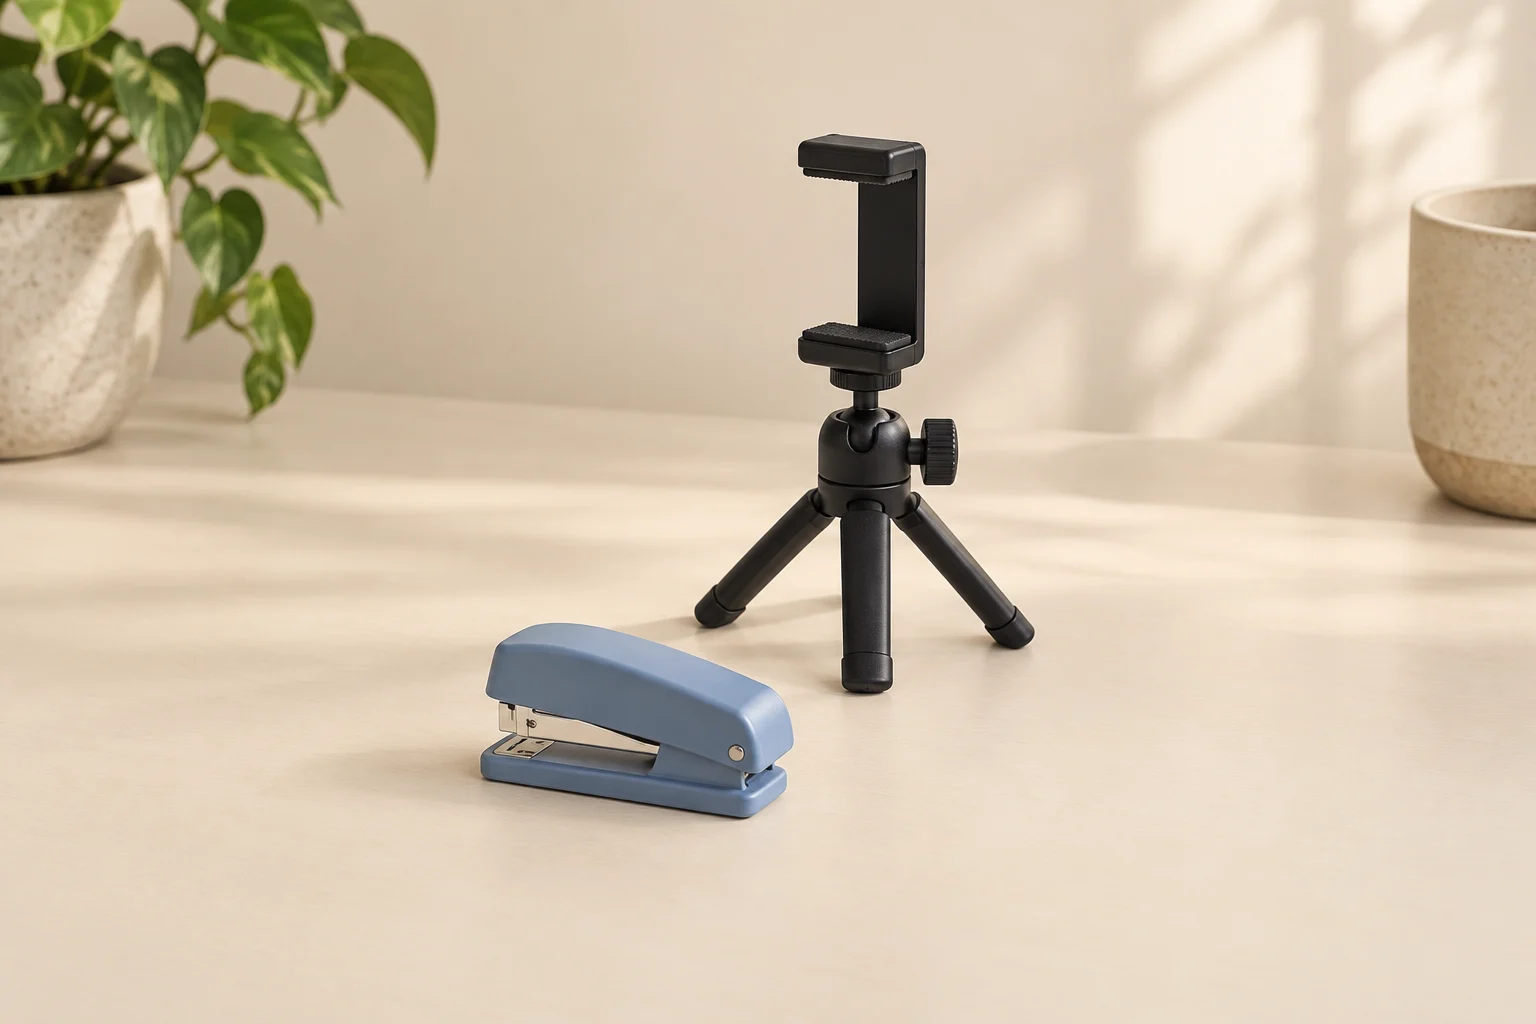
If no candidate preserves the required information, reconsider the camera position or discuss a different shot. Do not silently omit the contact area or substitute a still image for the action. The cover's empty holder and stapler only illustrate the topic; they do not show a phone recording or prove a stable setup.
Keep the take and the reason you selected it
Stability comparison record
Required action and visible product parts:
Phone, camera app and recording mode:
Physical support and camera position:
Stabilization setting, if available:
Source clip and single change tried:
Starting view, complete action and settled ending:
Required parts retained or lost:
Selected take and remaining limitation:
Export filename and actual viewing check:
Before packing away, watch the selected take at normal speed and inspect the actual export at its intended viewing size. Check the beginning, the press and release, and the ending. A smooth preview or one clear frame does not establish that the complete demonstration works. Keep unresolved points in the record instead of marking the take ready.
If later editing adds stabilization or changes the framing, review that new export again. Preserve the source clip so you can compare it with the edited result. The useful outcome is an understandable product action, not a score for how motionless the picture looks.
How this fits UGC Stage
UGC Stage is an application in development connecting creators and brands. Its planned portfolio feature will let creators showcase selected work. A complete demonstration you actually film can become a practice sample: explain the intended action and your camera choice, and identify it as personal practice when it was not client work. Keep the comparison clips in your own production files. The application is not a camera or stabilization checker and is not available yet. Join the creator launch list to hear when it becomes available.
Sources and notes
Practical guidance from the UGC Stage team. Examples are educational, not customer results or income guarantees.