
Start by listening to the sound already captured with the product action. If it is unusable, record the actual interaction again while referring to the video, then compare the sound’s start, duration and ending with the image. A louder or more dramatic effect is not automatically a better demonstration of the product.
Choose the audible event the demonstration needs
Watch the selected clip and identify the useful sound: a lid sliding, a component touching another surface, or a distinct stop. Listen to the original recording before replacing anything. Separate the product event from an accidental bump against the phone, clothing rustle or unrelated room sound. Do not assume every movement needs an added effect.
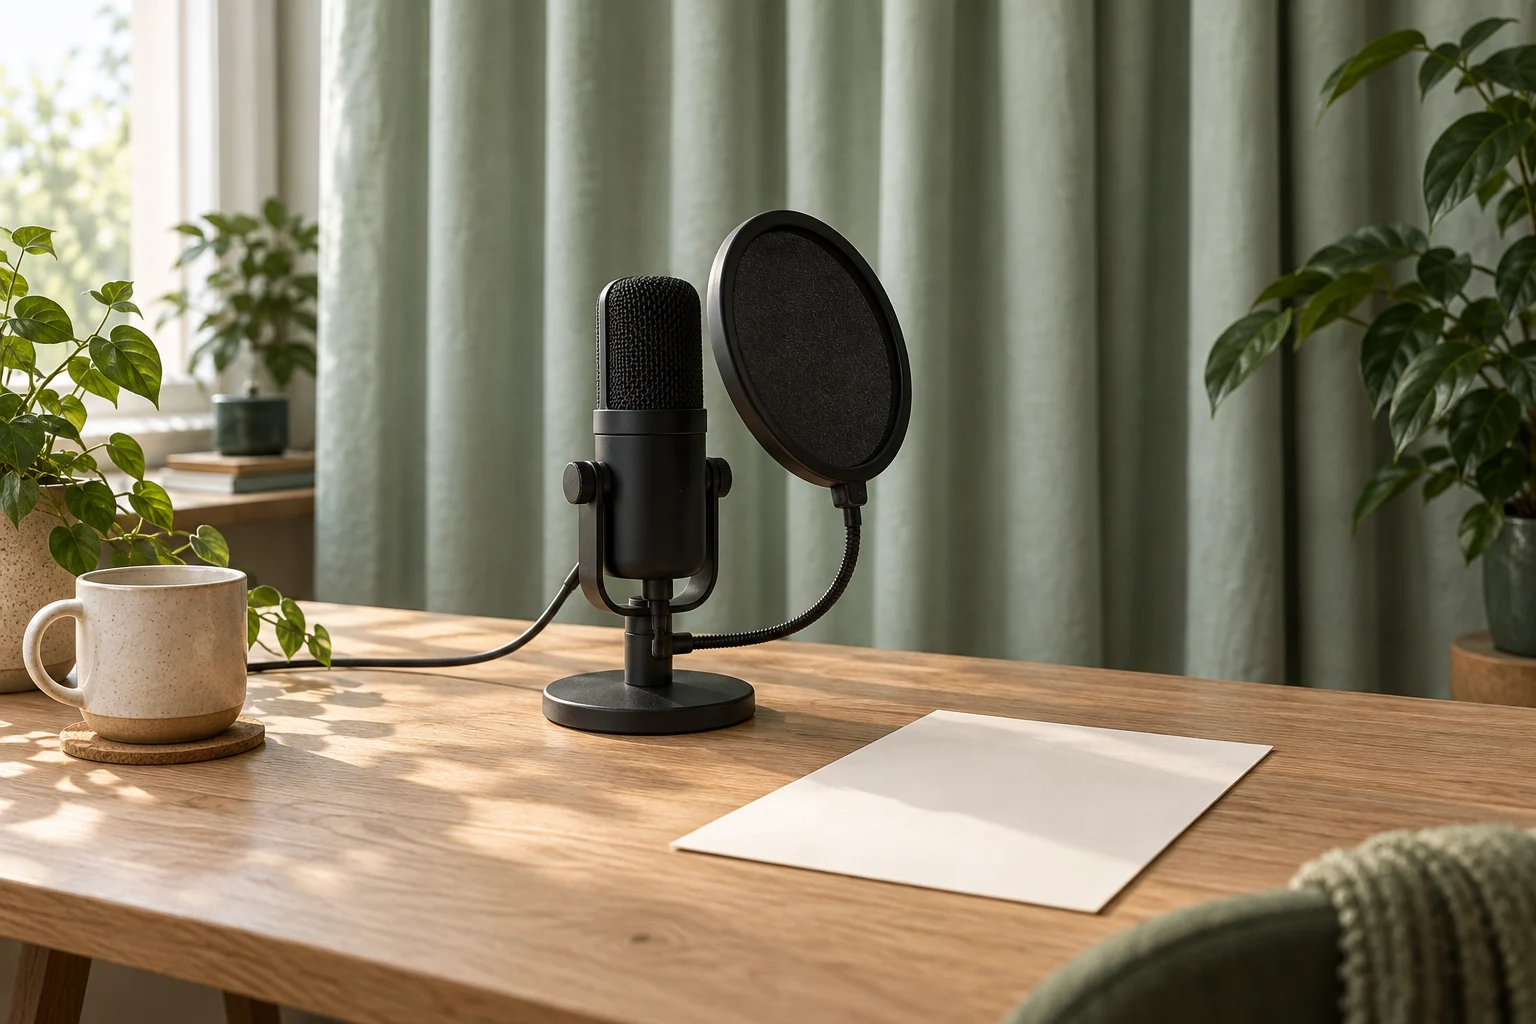
Record a short test of the actual product and intended movement with the equipment available to you. Keep the recording device steady and avoid touching it during the action. Listen back before a full session. If the useful sound is masked, compare a quieter position or a steadier arrangement and repeat the action normally; do not force the product to make it sound stronger.
This is a sound-to-action task, not a fixed microphone recipe. No single distance or setting is guaranteed for every device and object. If the sound is not usable, identify the limitation instead of assuming later processing will repair it.
Use the picture as a reference for a separate take
In its film and game Foley guide, RØDE recommends having the relevant video available so the recorded performance can match what the picture requires. That is the limited idea used here: watch the movement you need to accompany, then record a complete matching action. The guide’s studio and microphone recommendations are not equipment requirements for this exercise.
Keep the original video and audio. If you make a separate sound take, identify it as such and use the actual product in the relevant setup. Match the movement’s pace and full length while keeping any playback audio out of the new recording. Leave a little quiet time before and after the action so its beginning and end are available for editing.
Film sound design can deliberately substitute one material for another. A product demonstration needs a different judgment: do not add a click that suggests a latch the shown object does not have, or use a replacement as proof of quietness, strength or material quality. A separately recorded take is not evidence that the original shot captured that sound live.
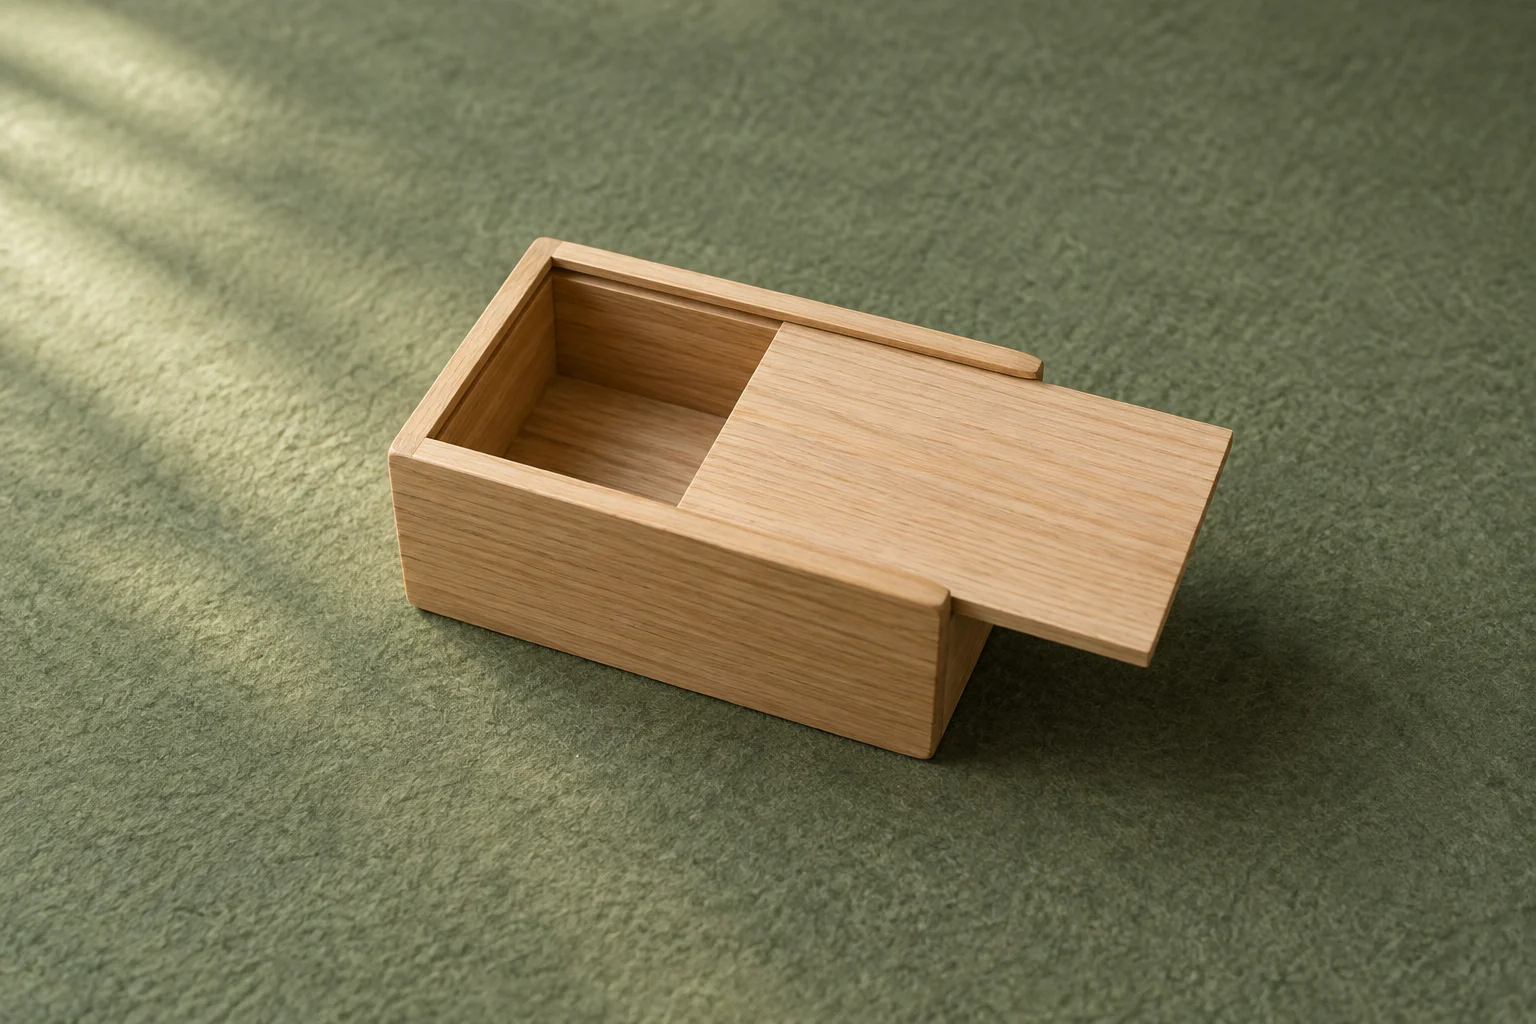
A fictional sliding-lid box: follow the whole movement
Imagine a small wooden box whose lid slides open, pauses, then slides closed. The desired sound is the actual interaction of that lid and box. The possible observations below are a planning example; we did not record, listen to or export these takes. The generated cover identifies the example object only and cannot demonstrate its sound or operation.
Illustrative cue map for the box action
Scroll sideways to see all columns.
| Visible cue | Possible sound observation | Next decision |
|---|---|---|
| The lid begins to move | A bump from handling the recording device covers the start of the slide. | Keep the original for reference. Steady the device and record the actual movement again; check that the start is no longer obscured. |
| The lid continues sliding | A separately recorded slide ends while the lid is still visibly moving. | Record the complete action at a matching pace with the video as reference. Do not accept a matching start as proof that the whole take fits. |
| The lid reaches its closed position | An added hard click suggests a latch, but no such mechanism is present in the example. | Remove the unsupported effect. Check the actual product’s stopping sound instead of inventing a stronger finish. |
| The box rests between actions | Unrelated room noise becomes noticeable during the pause. | Inspect the source and surrounding takes. If another recording is needed, keep the relevant setup consistent and review the join; do not hide the issue by raising every sound. |
Place the selected sound against the corresponding action in the edit. Watch and listen at normal playback speed, then inspect the start, ongoing movement and stop more closely. If the timing still looks wrong, revise the placement or record another take. There is no universal frame tolerance supplied by this guide.
Listen in the context of the complete video too. A clear solo sound can become distracting beside speech or other audio. Adjust the edit so the intended interaction remains understandable without making it imply a product claim the recording does not establish.
Keep a take record and check the final export
Product and action: [actual object and movement]
Video file and cue location: [filename; time reference]
Sound source: [captured with image / recorded separately]
Audio take: [filename and actual product/setup]
Start: [visible cue and audible onset]
Movement: [does the sound continue with the action?]
Stop and pause: [ending, room sound and joins]
Mismatch or unwanted sound: [specific observation]
Next step: [keep / reposition / record again / remove unsupported effect]
Final export checked: [filename and playback observation]
Practice description: [what you recorded and edited yourself]
- Replay the actual exported file, not only the editing preview. Check the opening cue, full movement, stop and any transition into another shot.
- Recheck if the video timing, selected take or other audio changes. A sound placed for an older cut may no longer fit.
- Keep original and separate recordings identifiable. Deliver separate audio files or the editing project only if those deliverables were agreed.
- Describe a portfolio exercise accurately. Recording a replacement sound is a production choice, not a measured improvement or a client result.
The useful outcome is a particular product action with sound you can trace and review against the image. If an important sound remains unclear, say what is missing and decide whether to record again or revise the agreed demonstration.
How this fits UGC Stage
UGC Stage is an application in development connecting creators and brands. Its planned portfolio feature lets creators showcase selected video, photo and audio work. A real practice demonstration can show how you recorded a product interaction and matched its sound to the image. Describe your contribution honestly, including whether the action sound was captured with the video or recorded separately, and label self-initiated work as practice. The editing happens in your own tools; Stage is not presented as an audio recorder or synchronization tool. Join the creator launch list to hear when the application becomes available.
Explore the applicationSources and notes
Practical guidance from the UGC Stage team. Examples are educational, not customer results or income guarantees.