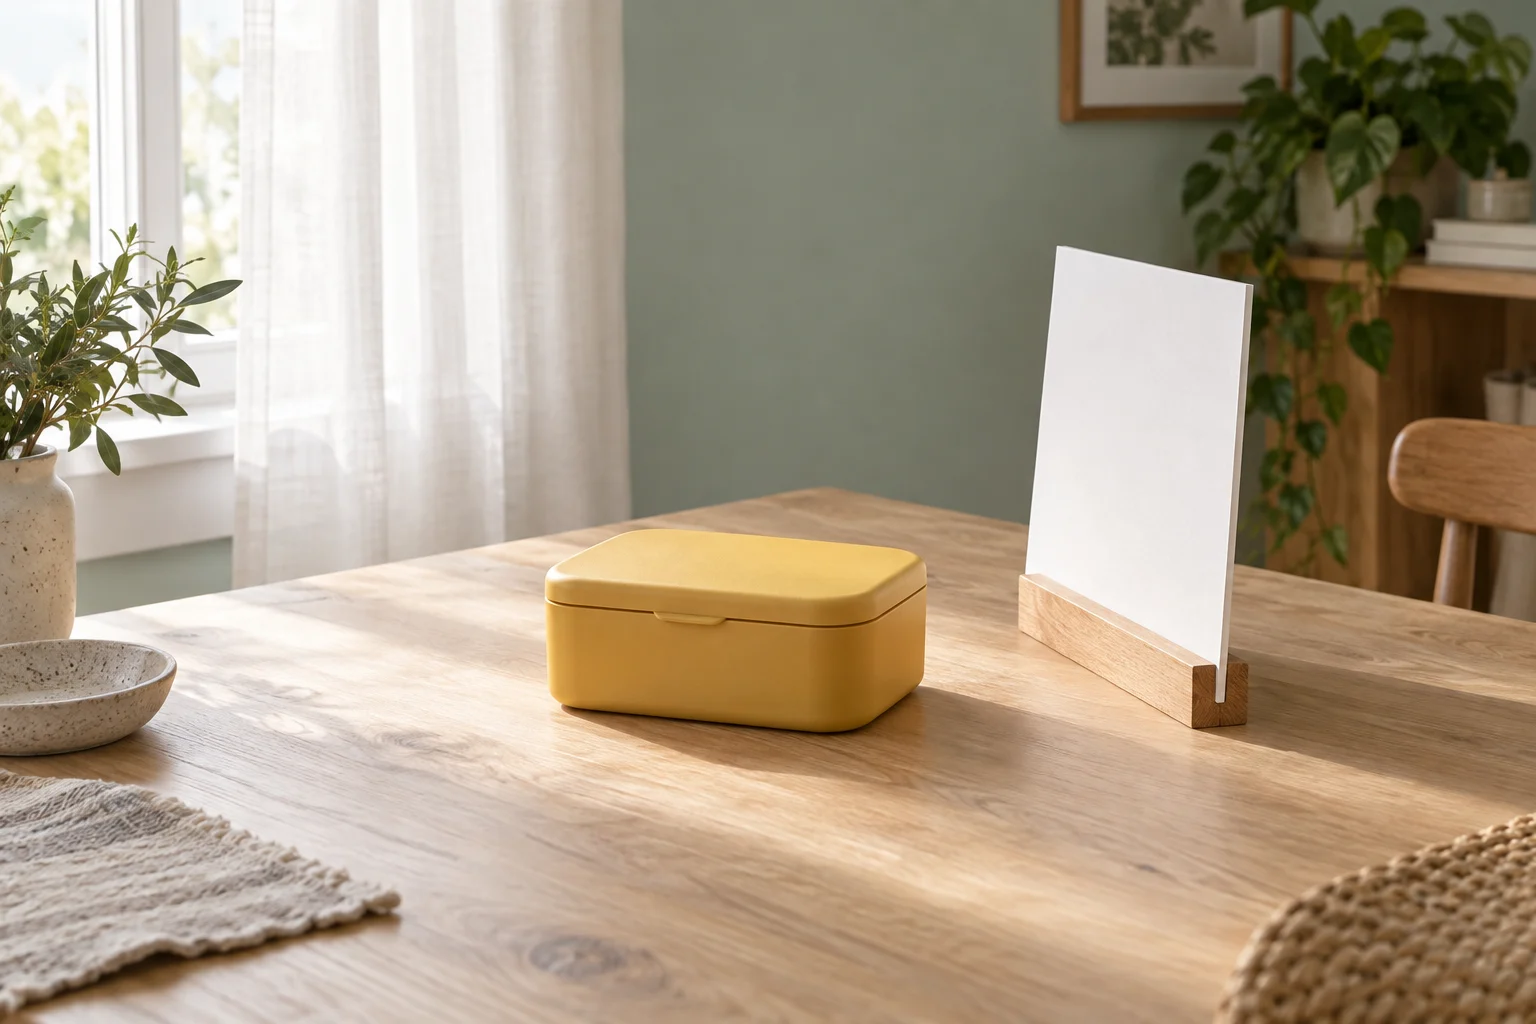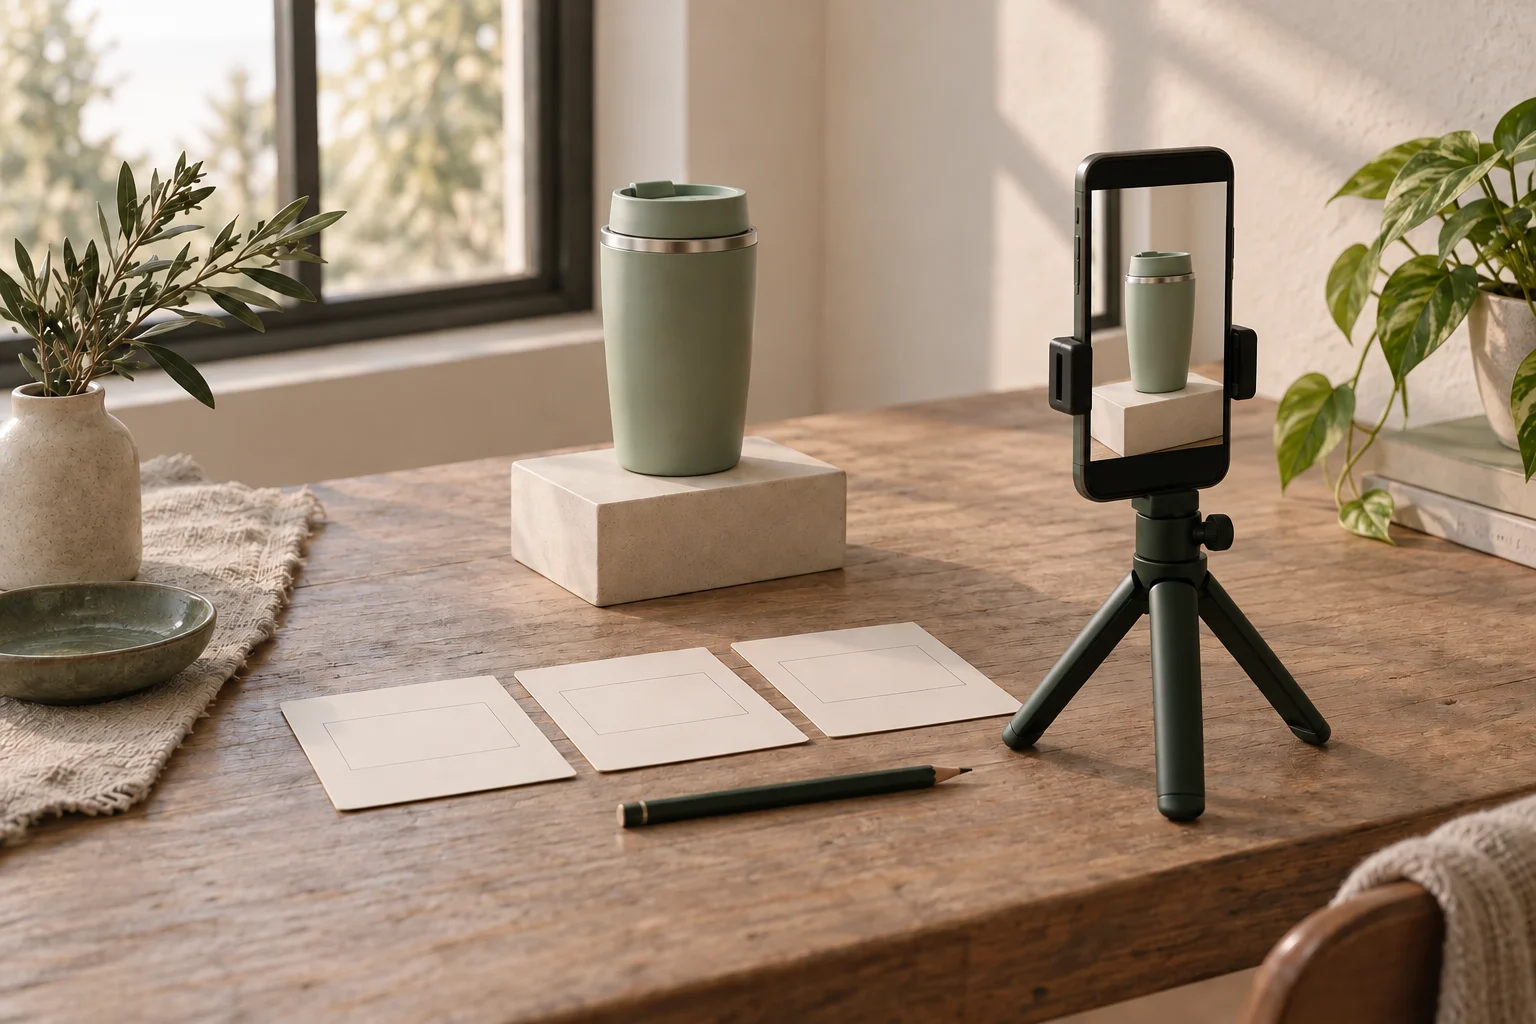

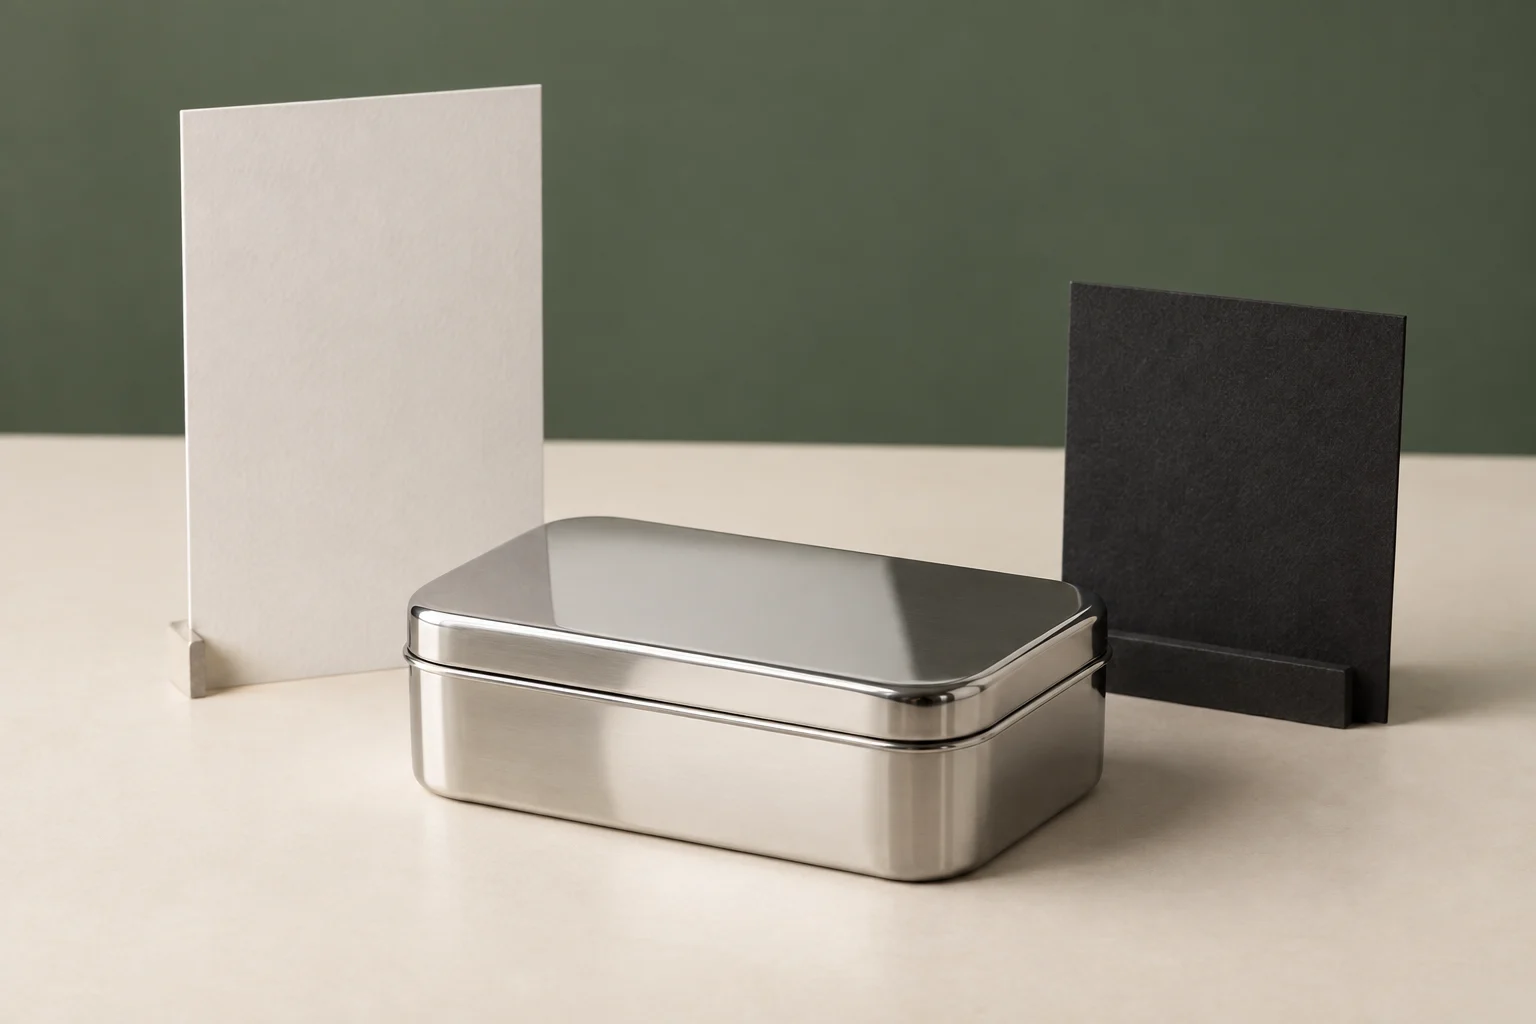
A tidy background does not mean a shiny product will look clear: its surface can show the phone, a ceiling lamp or something beside the set. Start by identifying what each reflection contributes. Keep reflections that help describe the shape, remove unwanted details at their source, and test changes without losing the view requested in the brief.
Read the scene inside the product
Begin with the product detail the viewer needs to understand. For a fictional closed metal tin, that might be the rounded lid edge during a slow turn. A bright reflection is not automatically a fault, and a dark area is not automatically dirt. Ask whether the change between light and dark helps the edge read or hides it.
Look beyond the direct camera frame. A card, phone or document can be outside that frame and still appear on the lid. To identify an uncertain reflected shape, try moving one suspected object while keeping the camera and product still. Watch which area changes. If nothing changes, investigate another object instead of treating the first guess as a diagnosis.
Separate three decisions: keep a useful shape cue, remove an unwanted identifiable detail, or reshape a reflection that obscures the required feature. Cleaning the direct background only addresses objects behind the product; it does not clear everything the product can reflect.
Try a card or position change for a specific reason
In his pocket-watch photography example for broncolor, Urs Recher explains that a white card can reduce contrast and add reflections on shiny parts. He also describes black cloths used locally to reduce reflections in the watch glass and make the dials clearer. These are choices in a particular still-photography setup, not a promise that white or black will improve every metal surface.
In a separate watch example, Jonny Wilson describes gradients on diffusion paper that help show curves and give the image shape. That production uses specialist lighting and multiple images; it is not a demonstration of a single phone video. The useful question for this exercise is simpler: does the reflected light or dark shape explain the product you are filming?
Try an existing white or dark card, supported securely, and compare what the product reflects. A card outside the direct frame may intentionally remain visible as a broad reflection. If it hides a logo or lid seam, move the card or try a small change in the camera or product position. Preserve the required view while comparing results; a clean reflection is not useful if the requested detail has turned away. There is no universal card position or angle.
A fictional metal-tin decision map
Imagine a practice clip that slowly turns a closed rectangular tin to show its lid edge. The following are possible observations and decisions, not results of a recording we made. They adapt still-photography ideas to a moving-product inspection. The generated cover illustrates a tin and cards; it does not establish that any movement is free of unwanted reflections.
Possible reflections during the planned turn
Scroll sideways to see all columns.
| What appears | Decision and reason | Trial and check |
|---|---|---|
| Broad pale region beside a darker edge | Keep if the contrast helps show the curve | Check that the edge stays understandable through the turn. Do not remove the region just because it is a reflection. |
| Readable desk document appears near the end | Remove the private detail at its source | Move or cover the document before recording again, then inspect the full saved clip for its reflection. |
| Phone-shaped dark patch covers the lid seam midway | Reposition while retaining the required view | Try a small camera or product angle change. Check whether the seam becomes visible and whether another unwanted reflection enters. |
| Dark card creates an overly broad band across the lid | Reshape the card reflection | Try moving the card. Compare the edge definition and lid detail; keep the card only if its actual effect is useful. |
These alternatives are not steps that every setup will need. If a reflection cannot be resolved without losing the agreed view, flag that conflict before selecting the shot. Do not assume editing will restore a feature that the recording never shows clearly.
Select the clip with a reflection note
Record the complete planned action and inspect the saved clip, including the moments between its start, midpoint and end. Those checkpoints help locate a problem but do not prove the intervals are clear. A setup that works with the product still may show a different part of the room as it turns. Recheck after changing the product path, camera position or nearby objects.
Required visible detail: […]
Reflection to retain and why: […]
Unwanted reflected object and where it appears: […]
Object, card or position changed: […]
Saved clip checked through the whole action: […]
Remaining issue / selected clip: […]
Fill the note from the real recording, leaving unresolved items open. Keep any private details out of the sample you share. For the broader lighting setup, use the window-light guide; for planning which actions to capture, use the shot-list guide. This reflection note answers the narrower question of what the surface shows and why that version is suitable.
How this fits UGC Stage
UGC Stage is an application in development connecting creators and brands. Its planned creator portfolios let you show selected video, photo and audio work. A reflective-product practice clip can illustrate a real production decision: for example, preserving a visible lid edge while removing a distracting room reflection. Use your own filming tools, select a clip you have actually checked, and describe only the work you performed. Label a self-initiated sample as practice rather than a client campaign. Join the creator launch list to hear when the application becomes available.
Explore the applicationSources and notes
Practical guidance from the UGC Stage team. Examples are educational, not customer results or income guarantees.