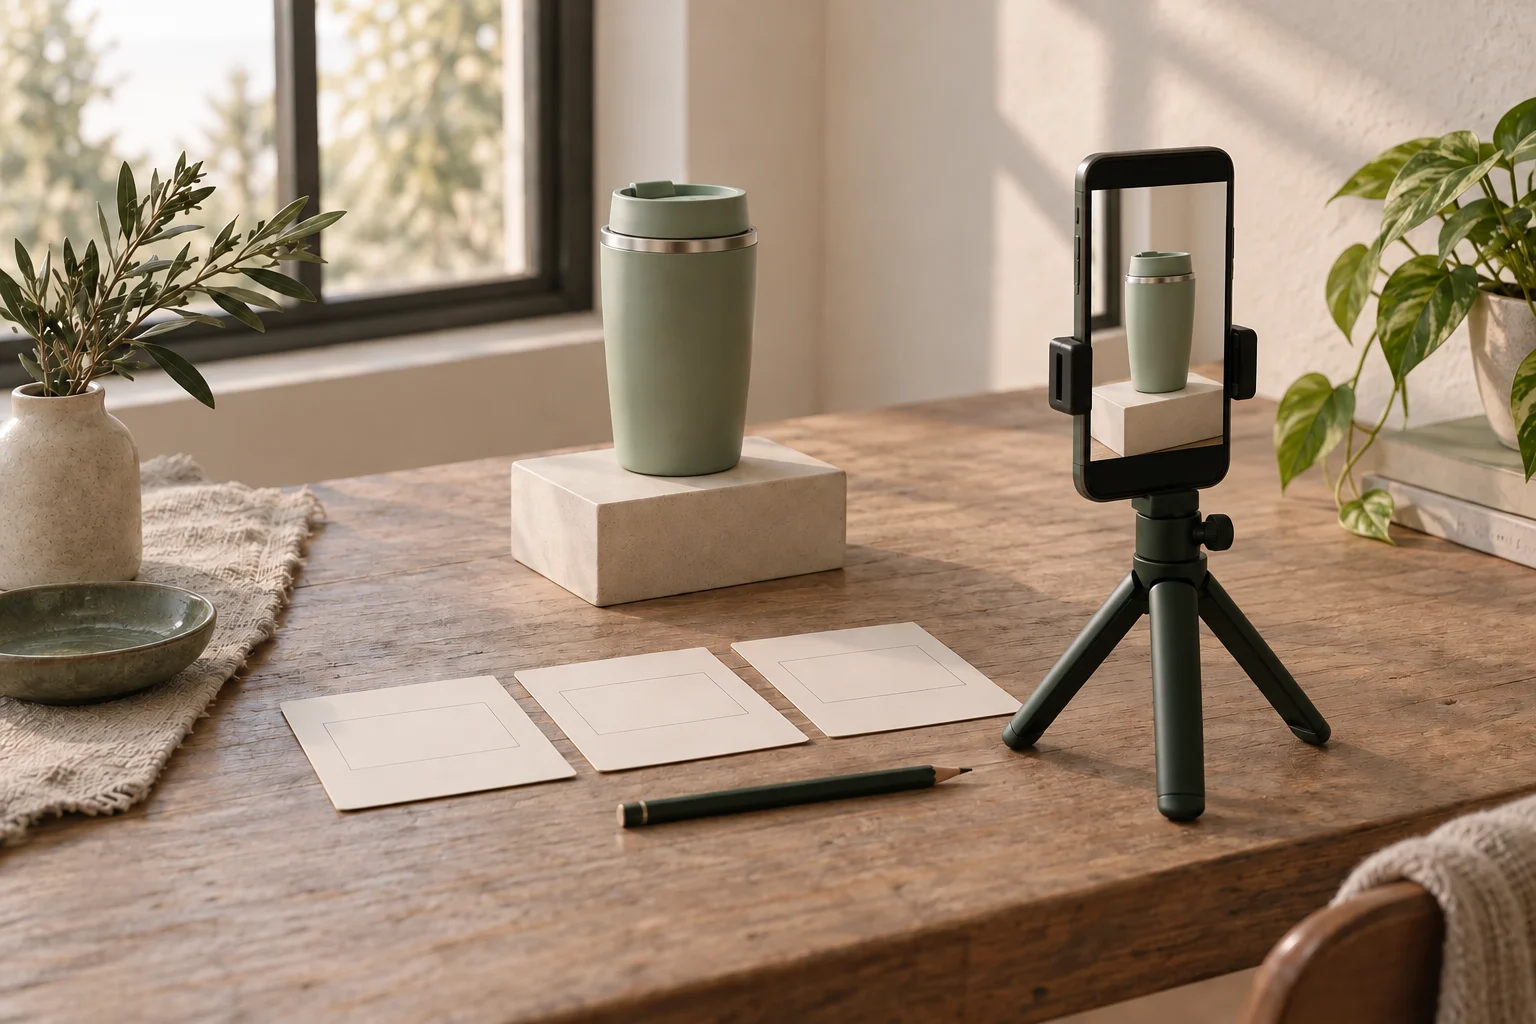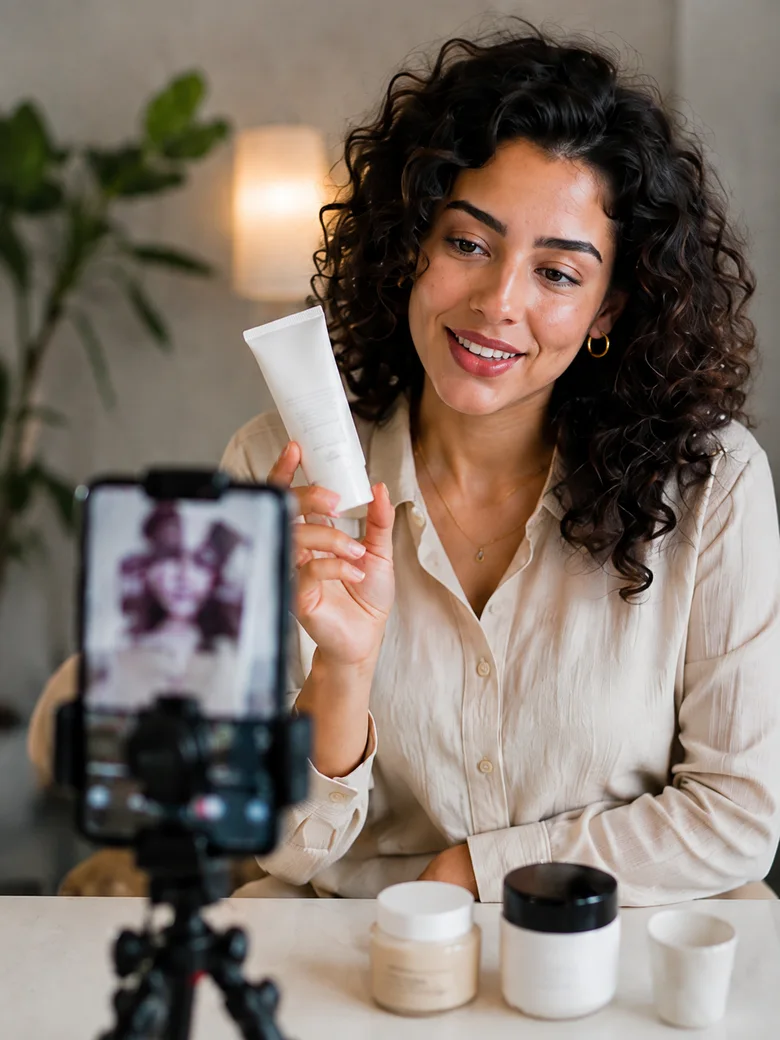

Start near a window with soft light, then record the product movement you actually need. Check whether its important detail stays visible from the first frame to the last. Change one setup element, replay the test and keep a reference clip once it works. Window light can change during the session, so a good first test is a starting point for checking later takes too.
Start with the detail the shot needs
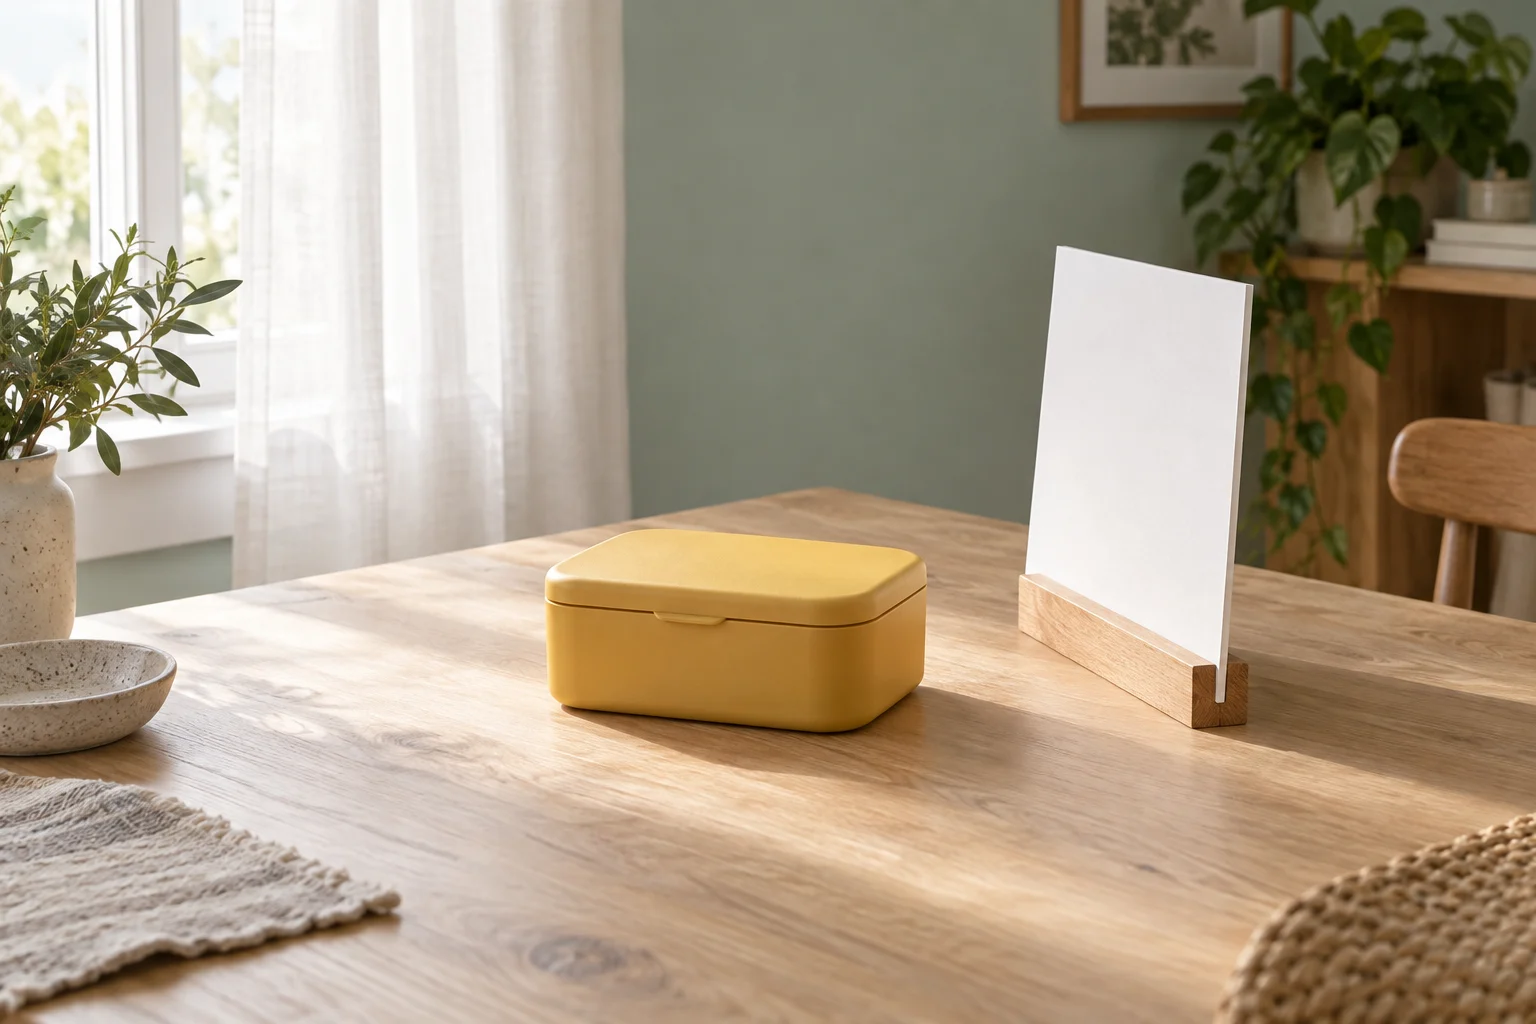
Decide what the viewer must see before choosing the light. For a fictional matte lunchbox demonstration, the useful detail might be the lid edge, the opening movement and the interior. An attractive bright tabletop is not enough if the lid edge disappears into shadow. Follow the agreed brief and framing rather than forcing every product into the same setup.
YouTube’s mobile-filming guidance recommends soft, even lighting and suggests working near a window at home. Indirect window light is a practical starting point. If strong sun creates a bright patch or hard shadow that hides the required detail, try another position or use an existing sheer curtain to soften the window light, then inspect the result. No particular distance, window direction or clock time works for every room.
Place the phone securely and keep the product and background clear. Start with a simple light arrangement you can understand. A white card opposite the window can bounce light toward a dark side of the product, as YouTube’s guide explains. Support it securely outside the frame and adjust its position only when the test shows a useful difference. You do not need to buy a reflector or a new phone for this exercise.
Record the movement, then inspect the recording
Record a short test using the intended lens, framing and product action. For the lunchbox exercise, begin closed, open the lid and pause at the intended ending. Include any hand movement that the real shot needs: a hand or lid can block light even when the untouched product looks clear. These are proposed filming steps, not a report of a test we performed.
- Check the beginning, movement and ending at a useful viewing size. Can you see the needed edge, surface and interior detail?
- Look for overly bright areas that hide detail, dark areas that lose the shape, and unwanted reflections where the actual material is reflective. Matte and glossy surfaces need different judgments.
- Watch for focus hunting, brightness changes or a visible color shift during the take. The saved recording matters more than a momentary camera preview.
- Where the phone or camera app supports exposure and focus controls, try them and repeat the movement. Do not assume locking exposure and focus also locks white balance; those are different controls.
White balance is the camera’s adjustment for the color of the illumination. Nikon’s guide recommends consistent light, checking a test image and revisiting white balance when lighting conditions change. The principle is useful here, but Nikon camera menus are not instructions for your phone. Check your own app’s available controls. If it offers no white-balance control, simplify competing light sources and judge a new recording rather than pretending the setting is fixed.
Example: a fictional lunchbox lighting log
The following observations are invented to demonstrate a decision process. They are three possible situations in a practice session, not measured results, a guaranteed sequence or a real brand assignment. Keep the framing and action comparable while testing each proposed change.
Fictional observations and next tests
Scroll sideways to see all columns.
| What playback shows | One change to try | What to check on replay |
|---|---|---|
| A warm room lamp lights one side differently from the window side. | Switch off that competing lamp for the next test. | Is the unwanted color difference reduced, and is the whole action still adequately lit? |
| The shaded side of the matte box makes the lid edge difficult to distinguish. | Add a securely supported white card opposite the window. | Is the edge clearer without making the shape look flat or putting the card in the frame? |
| A direct sun patch hides surface detail as the lid moves. | Move the product setup out of that patch and repeat the same action. | Does the required detail remain visible through the movement, and does the new background still suit the shot? |
Nikon advises avoiding unwanted mixtures such as tungsten light and sunlight when seeking consistent color. Switching off the warm lamp is a troubleshooting option, not a rule against deliberately mixed lighting. If a change solves one problem but creates another, do not mark the take usable yet. Record the remaining issue and choose the next single change from what you can actually see.
A white bounce card is not a color-calibration certificate. Your phone display can help reveal obvious color drift, but it does not prove exact reproduction on every viewer’s screen. Avoid filters or large color changes that misrepresent the product. If precise color matching is part of the brief, clarify the reference and approval method with the brand instead of promising it from this simple setup.
Keep a reference and recheck after a break
Once a test is usable for the intended shot, retain that clip and a short setup note. Note the phone, product and card positions, the active room lights and the window conditions. A quick setup photo can help you restore the arrangement. Record only useful details; a note is there to help you repeat a decision, not to guarantee identical daylight.
Window-light setup note
Shot and detail that must remain visible:
Reference clip filename:
Phone/lens/app and framing:
Product position and movement:
Window condition and session time:
Room lights on or off:
Curtain/card position, if used:
Exposure/focus controls actually used:
White-balance control used, or unavailable:
Playback issue and one change tested:
Result and remaining uncertainty:
Next take compared with reference:
What changed after the break:
Compare neighbouring takes together, including any close-up that will join the wider shot. Clouds, a moving sun patch or a longer break can change the light even if the objects stay still and exposure is locked. If brightness or color no longer joins naturally, pause and make another test. Restore a suitable setup where possible, or record the adjoining shots again under the new conditions.
Before packing away, watch the chosen sequence through. Confirm that the necessary product detail remains understandable, the joins are acceptable for the intended edit and no private background detail or reflection slipped in. Keep the reference clip and note with the footage. This gives you a repeatable way to assess the work without treating daylight, automatic settings or later editing as a guarantee.
How this fits UGC Stage
UGC Stage is an application in development connecting creators and brands. Its planned creator portfolios let you show selected video, photo and audio work. A short practice product clip can demonstrate how you make a shape or action understandable with the equipment and space you have. Label self-initiated work honestly and describe your role; it is not a client campaign merely because a product appears in it. Use your own filming tools for the lighting exercise, then select a suitable sample for your future portfolio. Join the creator launch list to hear when the application becomes available.
Explore the applicationSources and notes
Practical guidance from the UGC Stage team. Examples are educational, not customer results or income guarantees.